Hey, sassies! I finally have put together a hair tutorial on how to style my new long bob! I have always had long hair and I had a wild moment about two weeks ago and I decided to chop it all off. And I have to say, I’m obsessed with it! It’s fun, sexy, and sophisticated all in one! I hope you enjoy this tutorial and let me know what you think of it in the comment box! Much love!

1. I have naturally wavy, thin hair, so I blow dry it with a large round brush, Moroccan oil styling lotion (you can only get it at a respective salon but I’ll tag some really good ones below!), and Kenra blowdry spray to give it some lift and volume!
– Make sure you get all the “kinks” out and get it as straight as possible!

2. You will need a straightener, curling iron, and two types of hairsprays! I’ll tag the ones I use at the end of the tutorial!
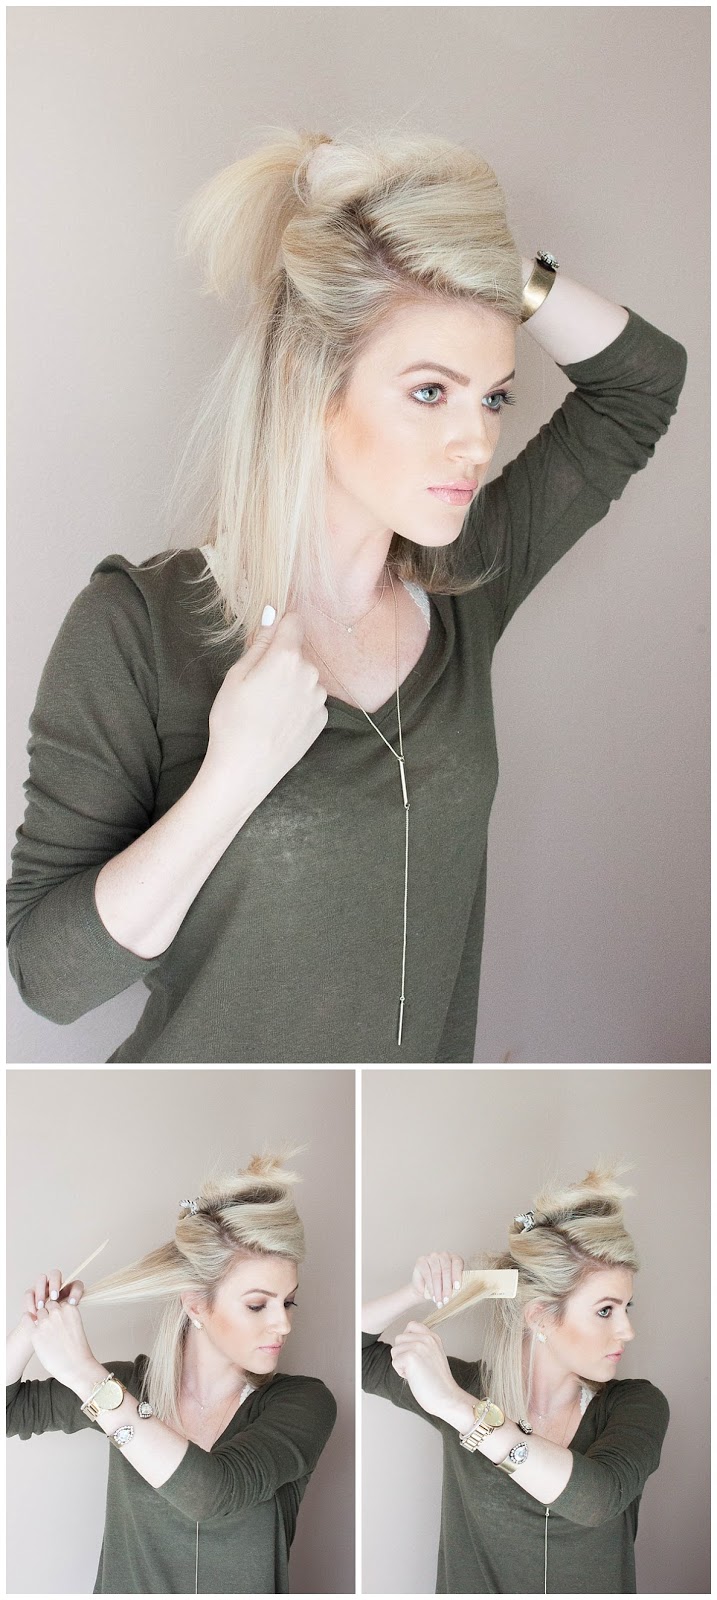
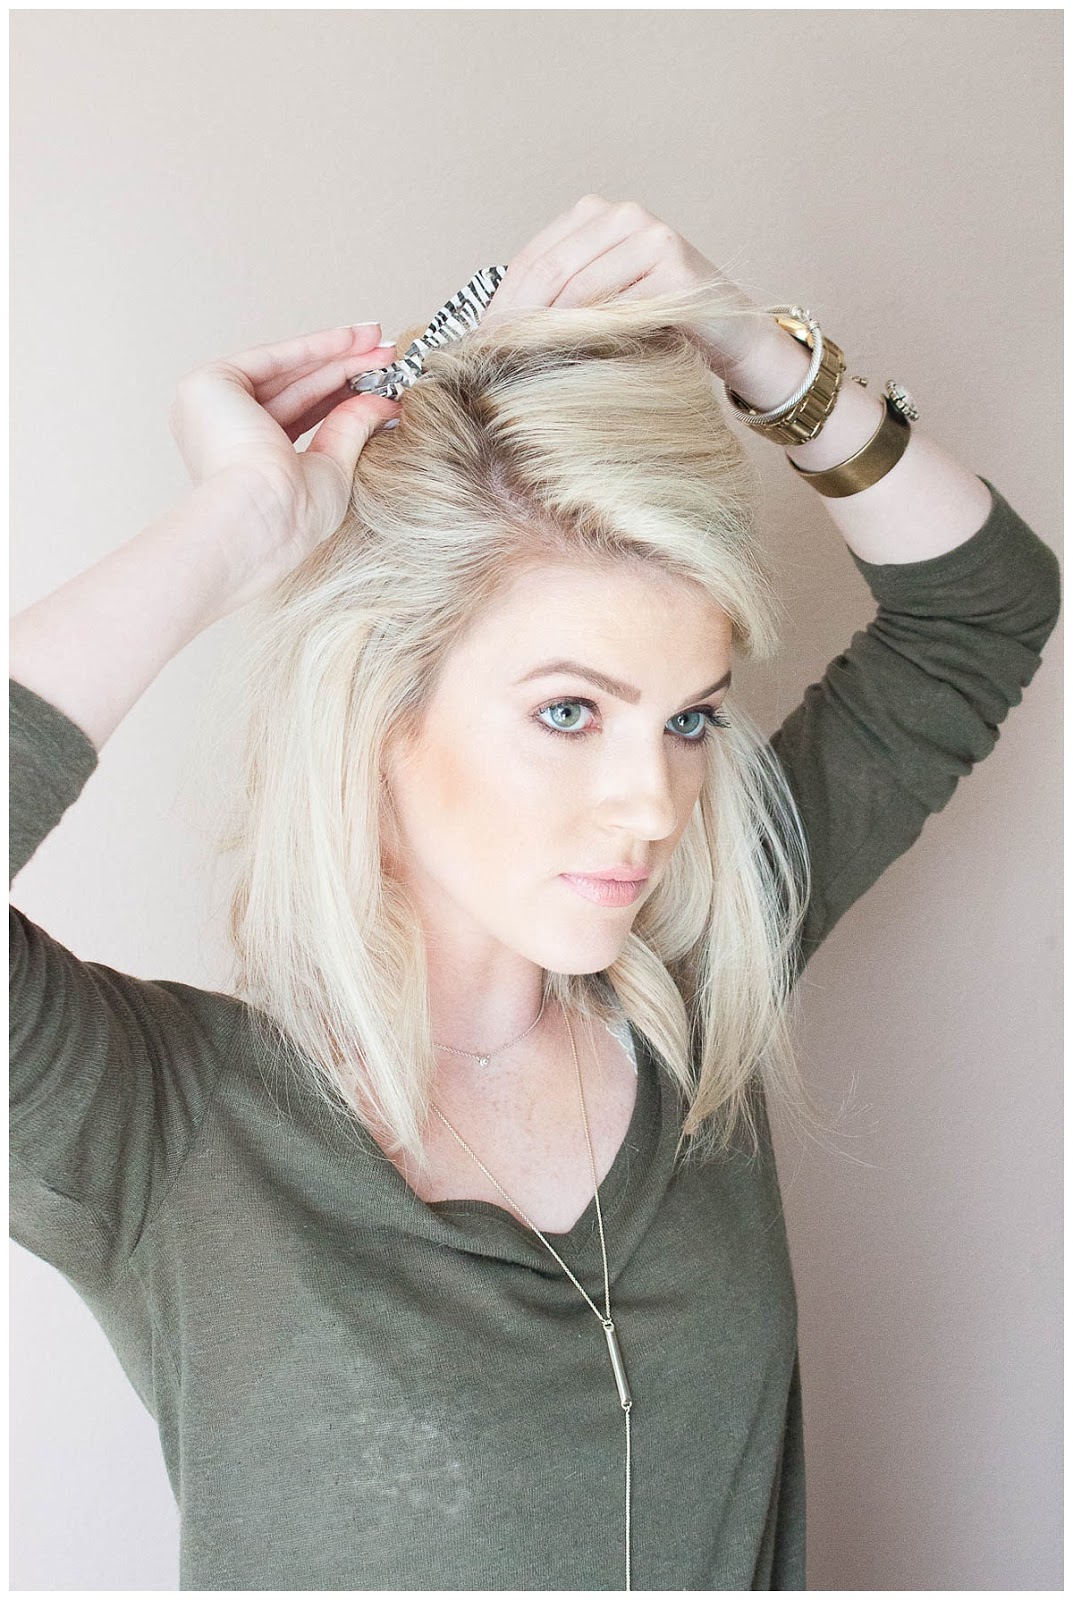
3. Section your hair off in two sections, clip up the top half so it’s out of the way!
– Take a half inch subsection and back comb to the root all the way around!

4. You will look like a helmet head at this point but that’s okay! This gives you that added volume all over!

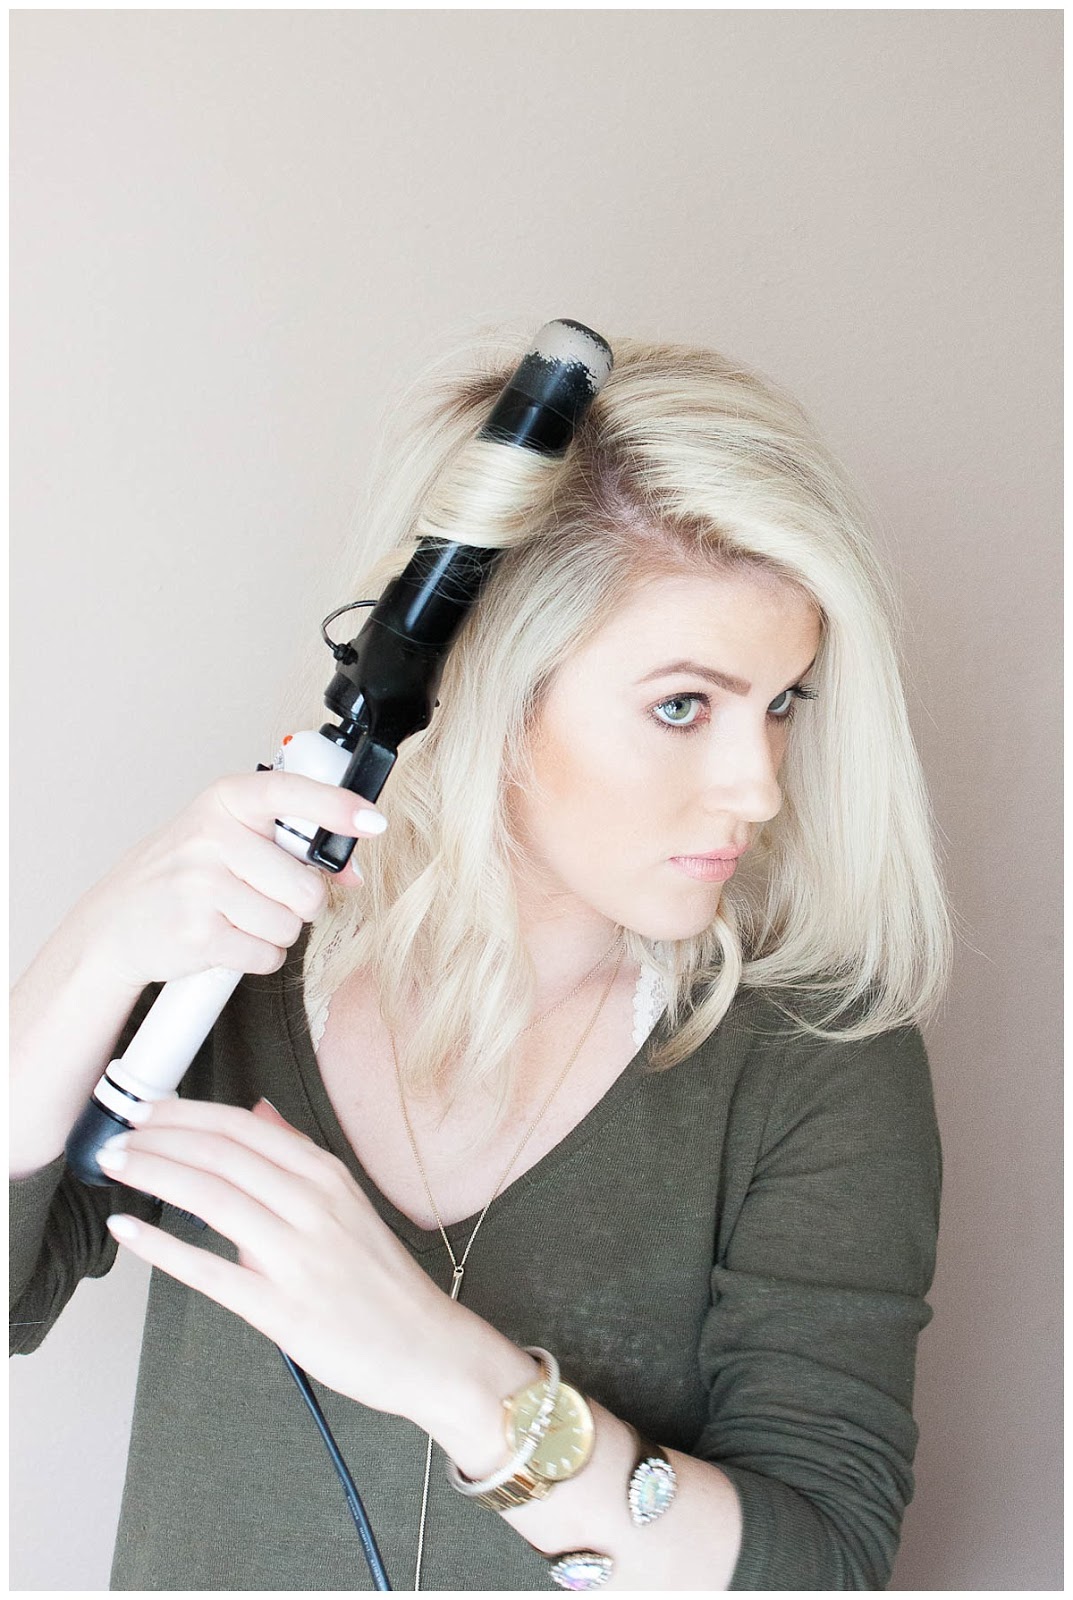
5. You will now need your curling iron! The barrel I’m using is a 1 1/4 inch!
– Take your first vertical subsection and curl away from the face and leave the ends out.
– Take your next vertical section and curl towards the face and leave the ends out.

6. Continue those steps all the way around!
– Make sure you are alternating directions (curling away from the face, curling towards the face)!
7. Now that you have finished your first section, take down another section!
– Clip up the crown area.

8. Do the same thing you did on the first section!
– Make sure you are still alternating directions of the curl!
9. Take down your last section! (Woohoo you are almost done curling!)

10. Work your way around the crown area!

11. The pieces around your face should be curled away from the face!

12. Now tussle and mess up your hair!
– Run your fingers through each section and rough up the curls!

13. Tease the crown area and sides!
– Make it messy, you’ll smooth it out at the end!
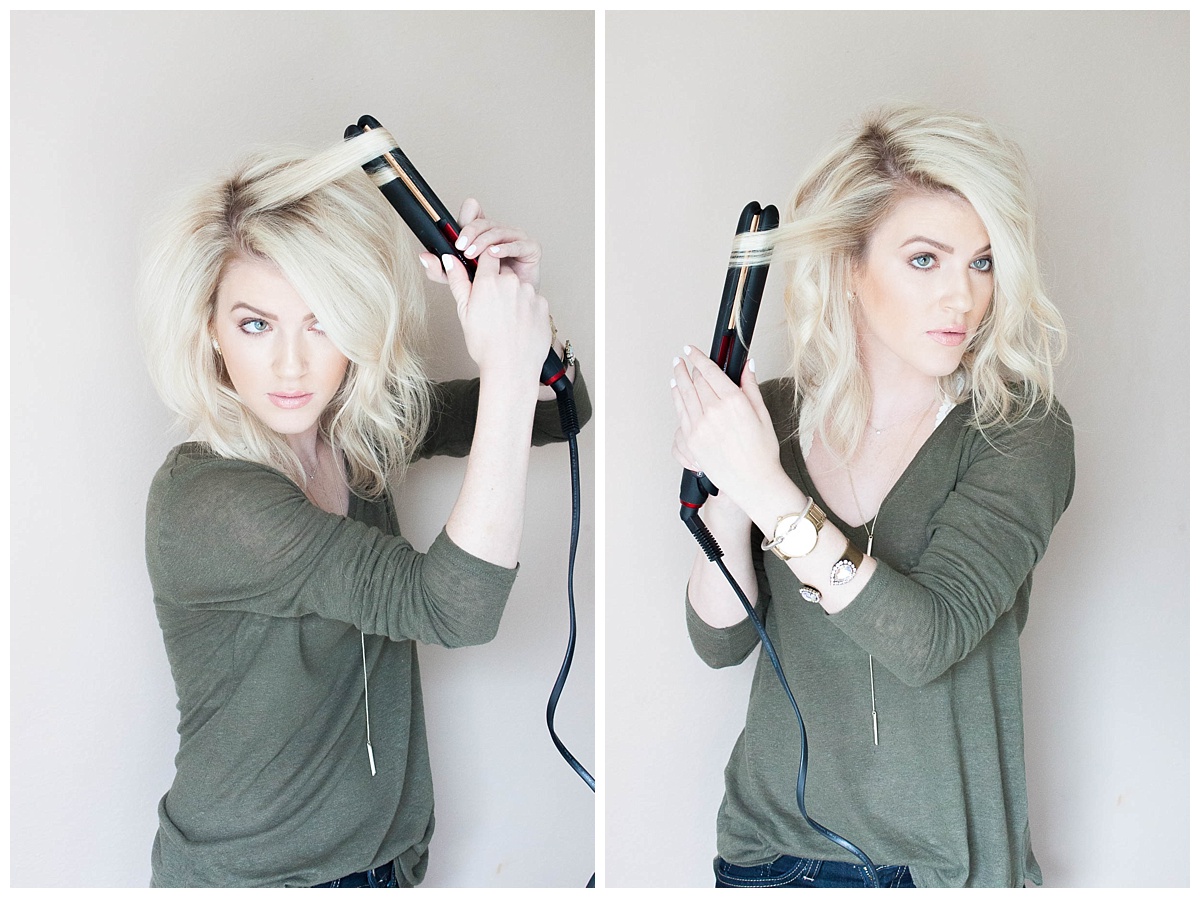
14. Now take your straightener to make some defined pieces on top!
– You want to take really small pieces and alternate curl directions.

15. Mess it up some more!
– Use a texturizing hairspray and lightly spray on each section!
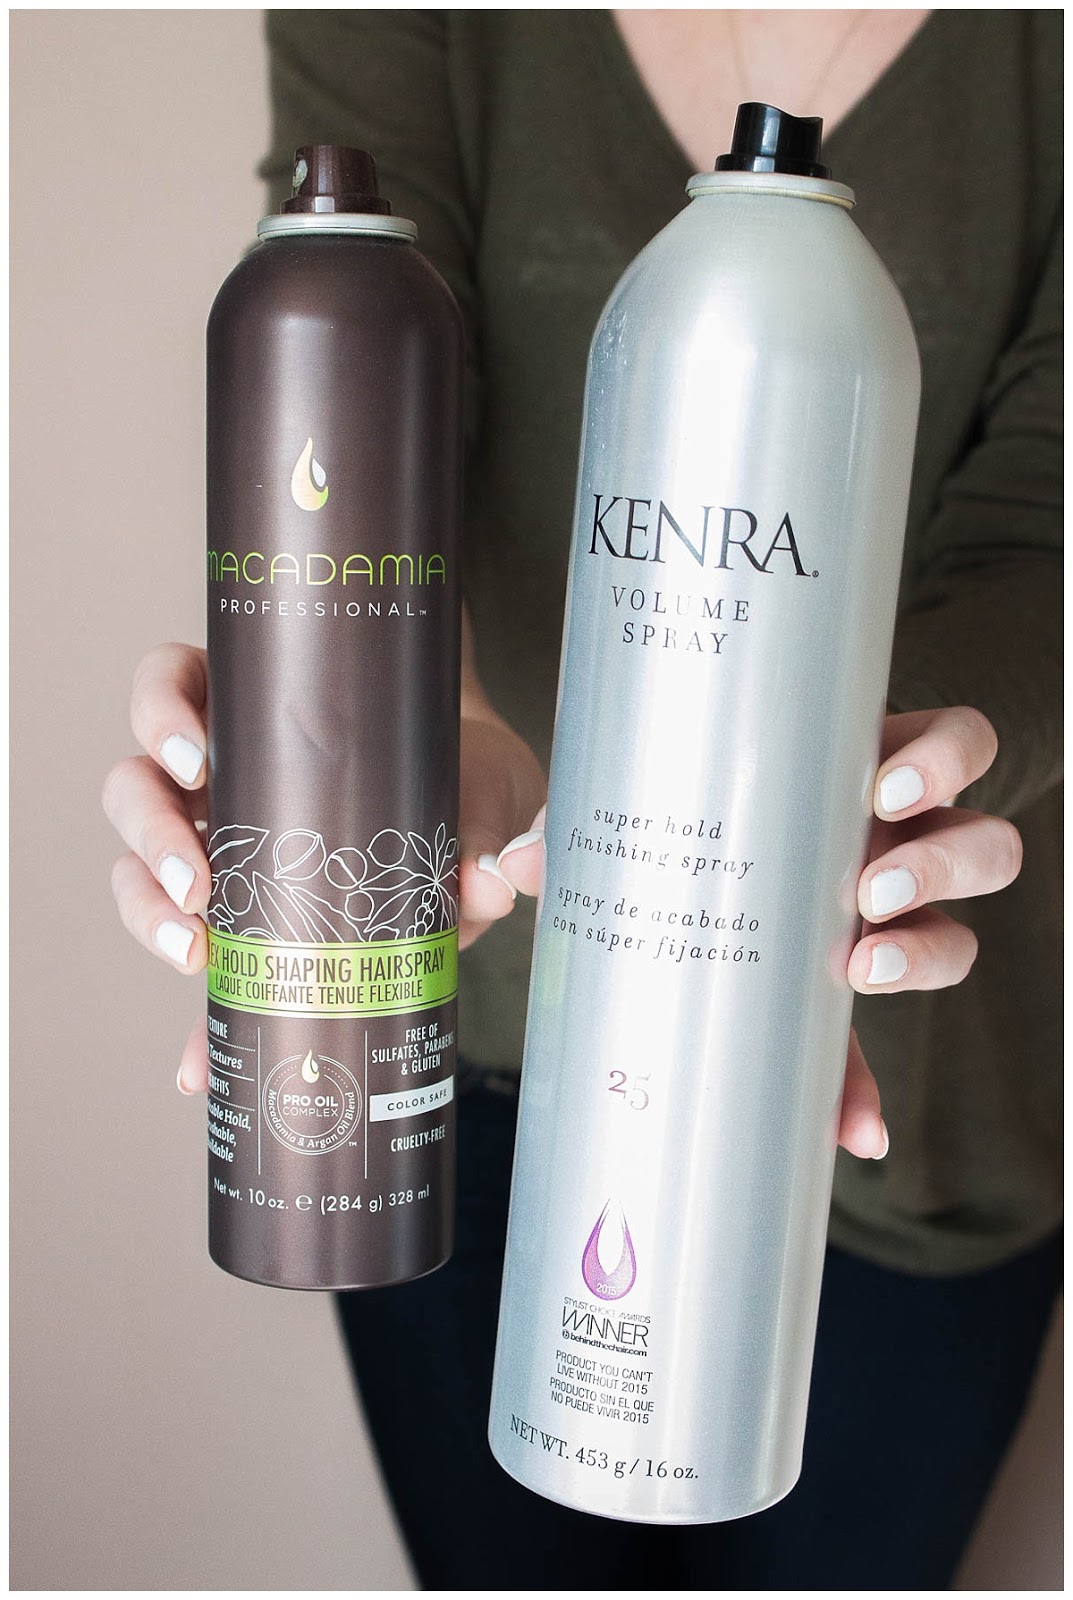
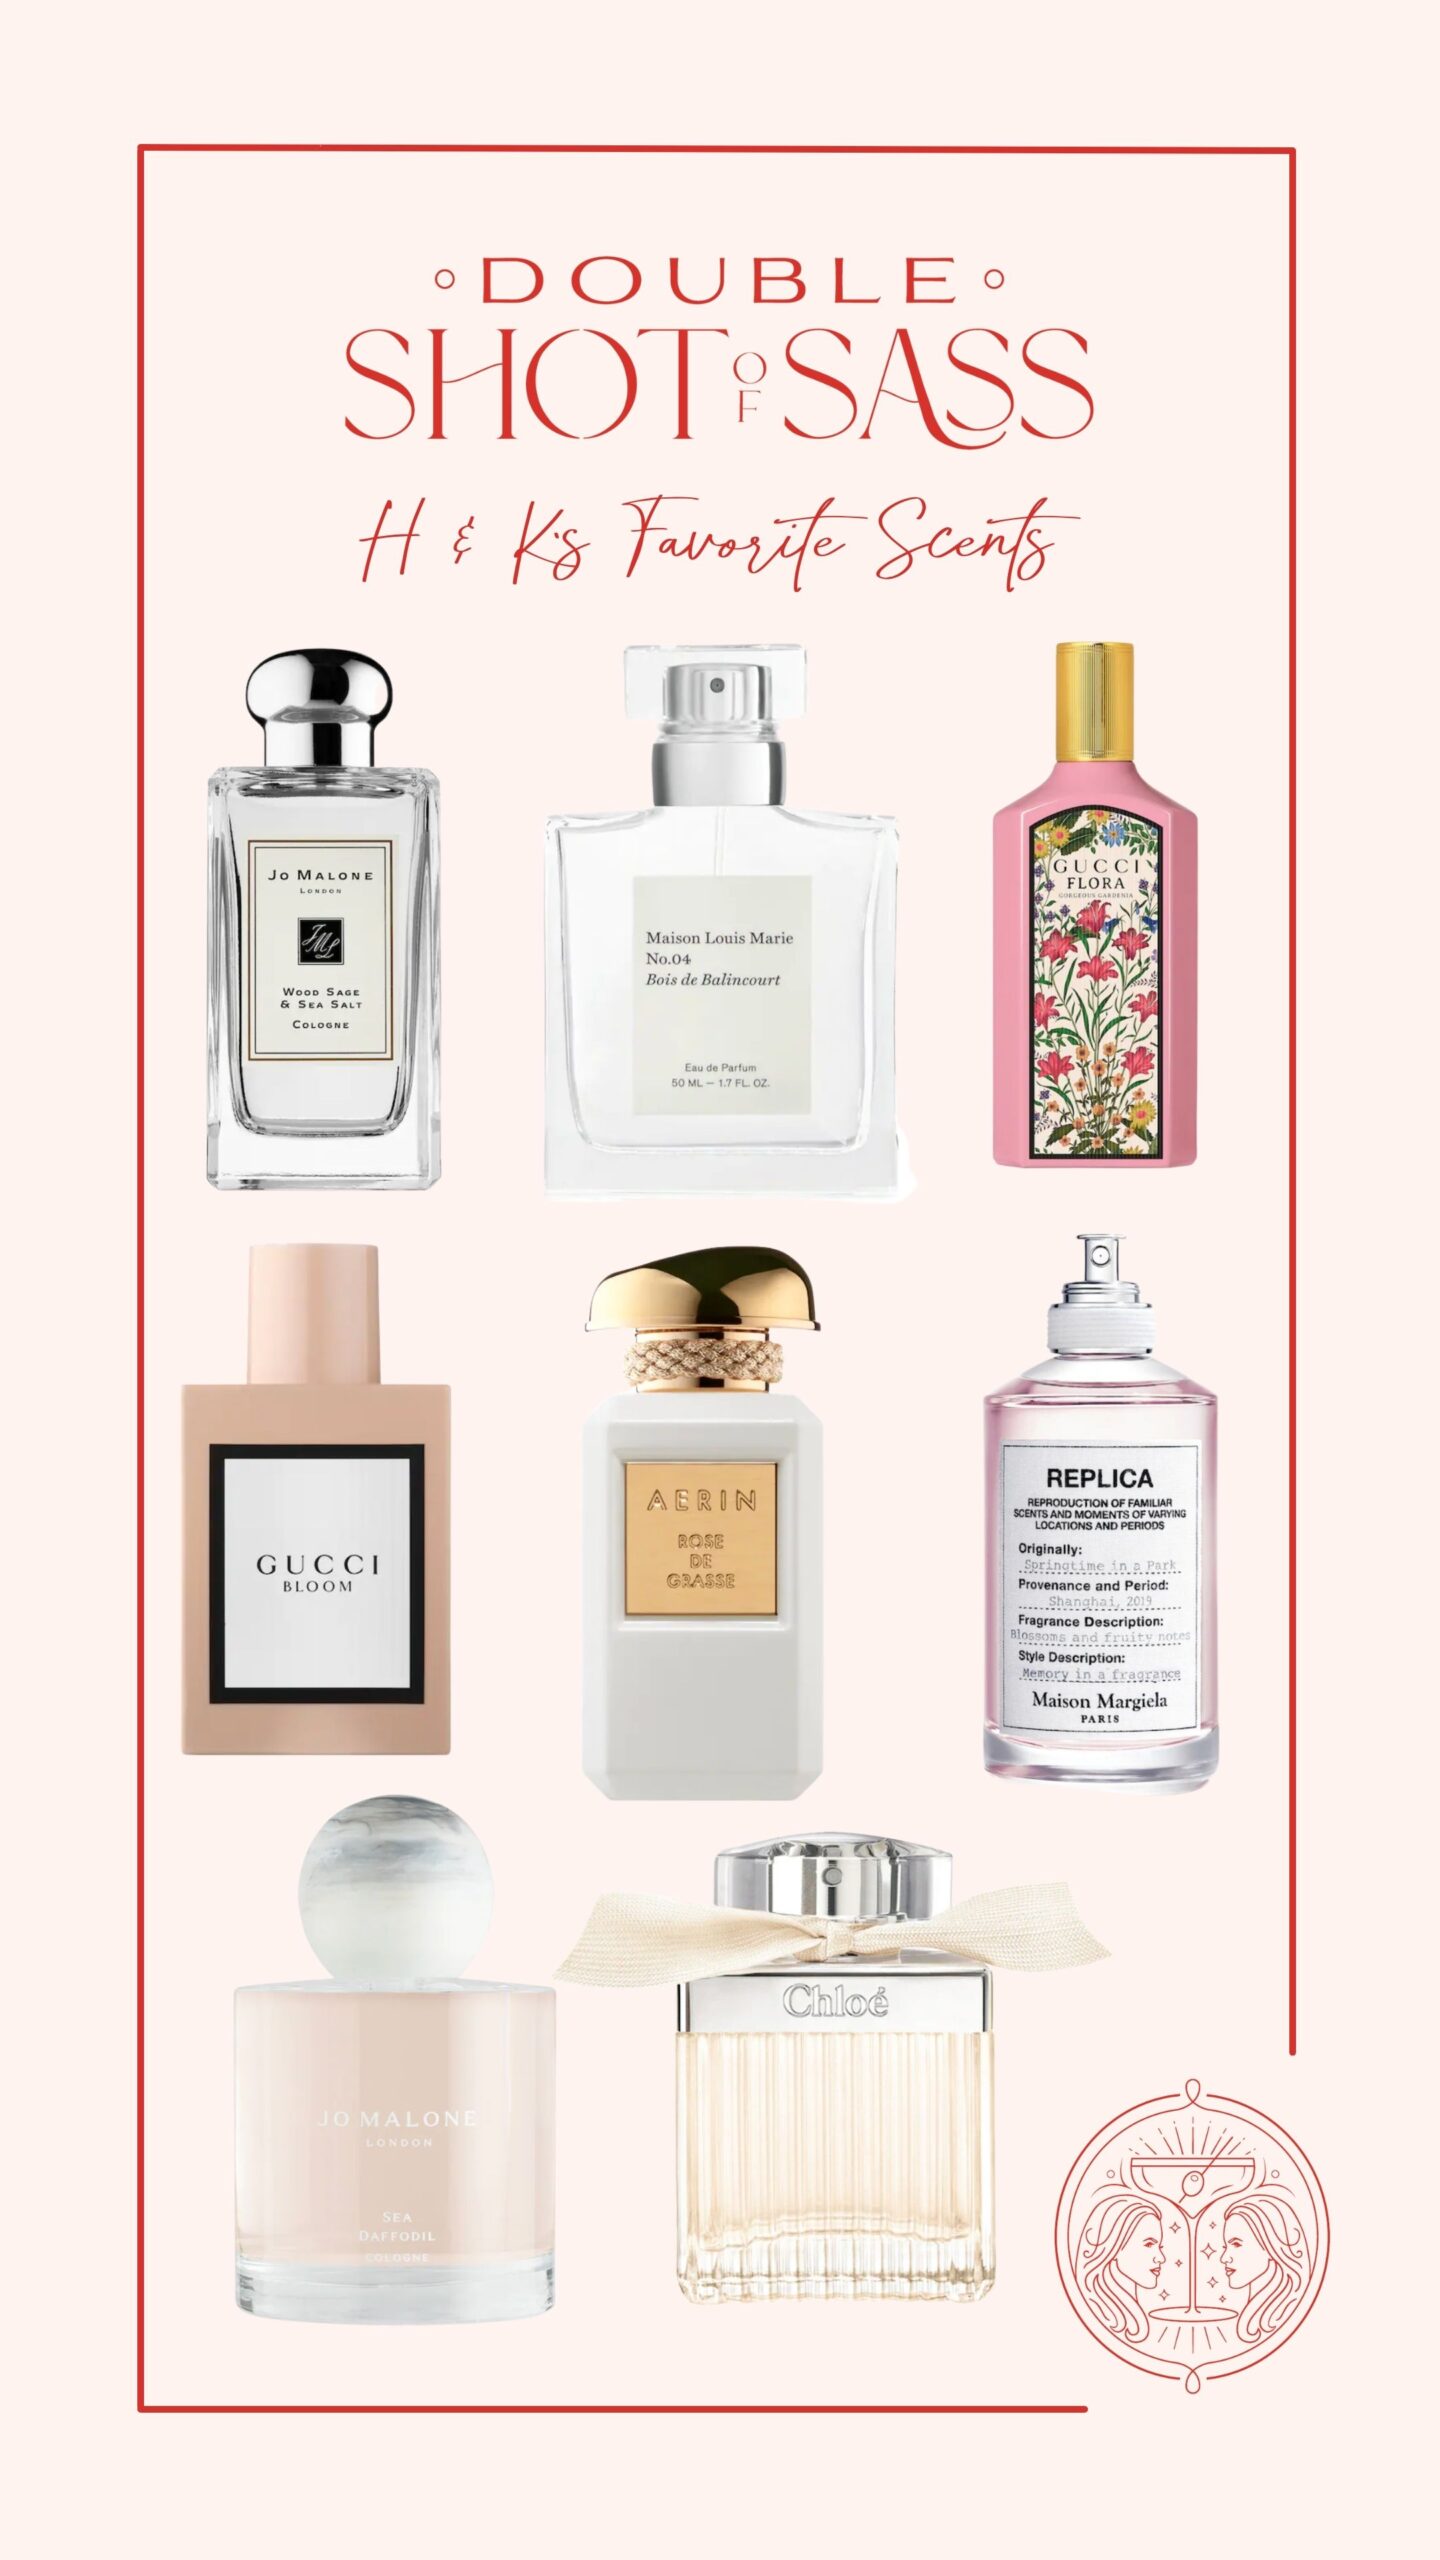
16. These two hairsprays are my absolute favorite! I use them on all my clients!
– Lightly mist Kenra 25 all over for your last step!

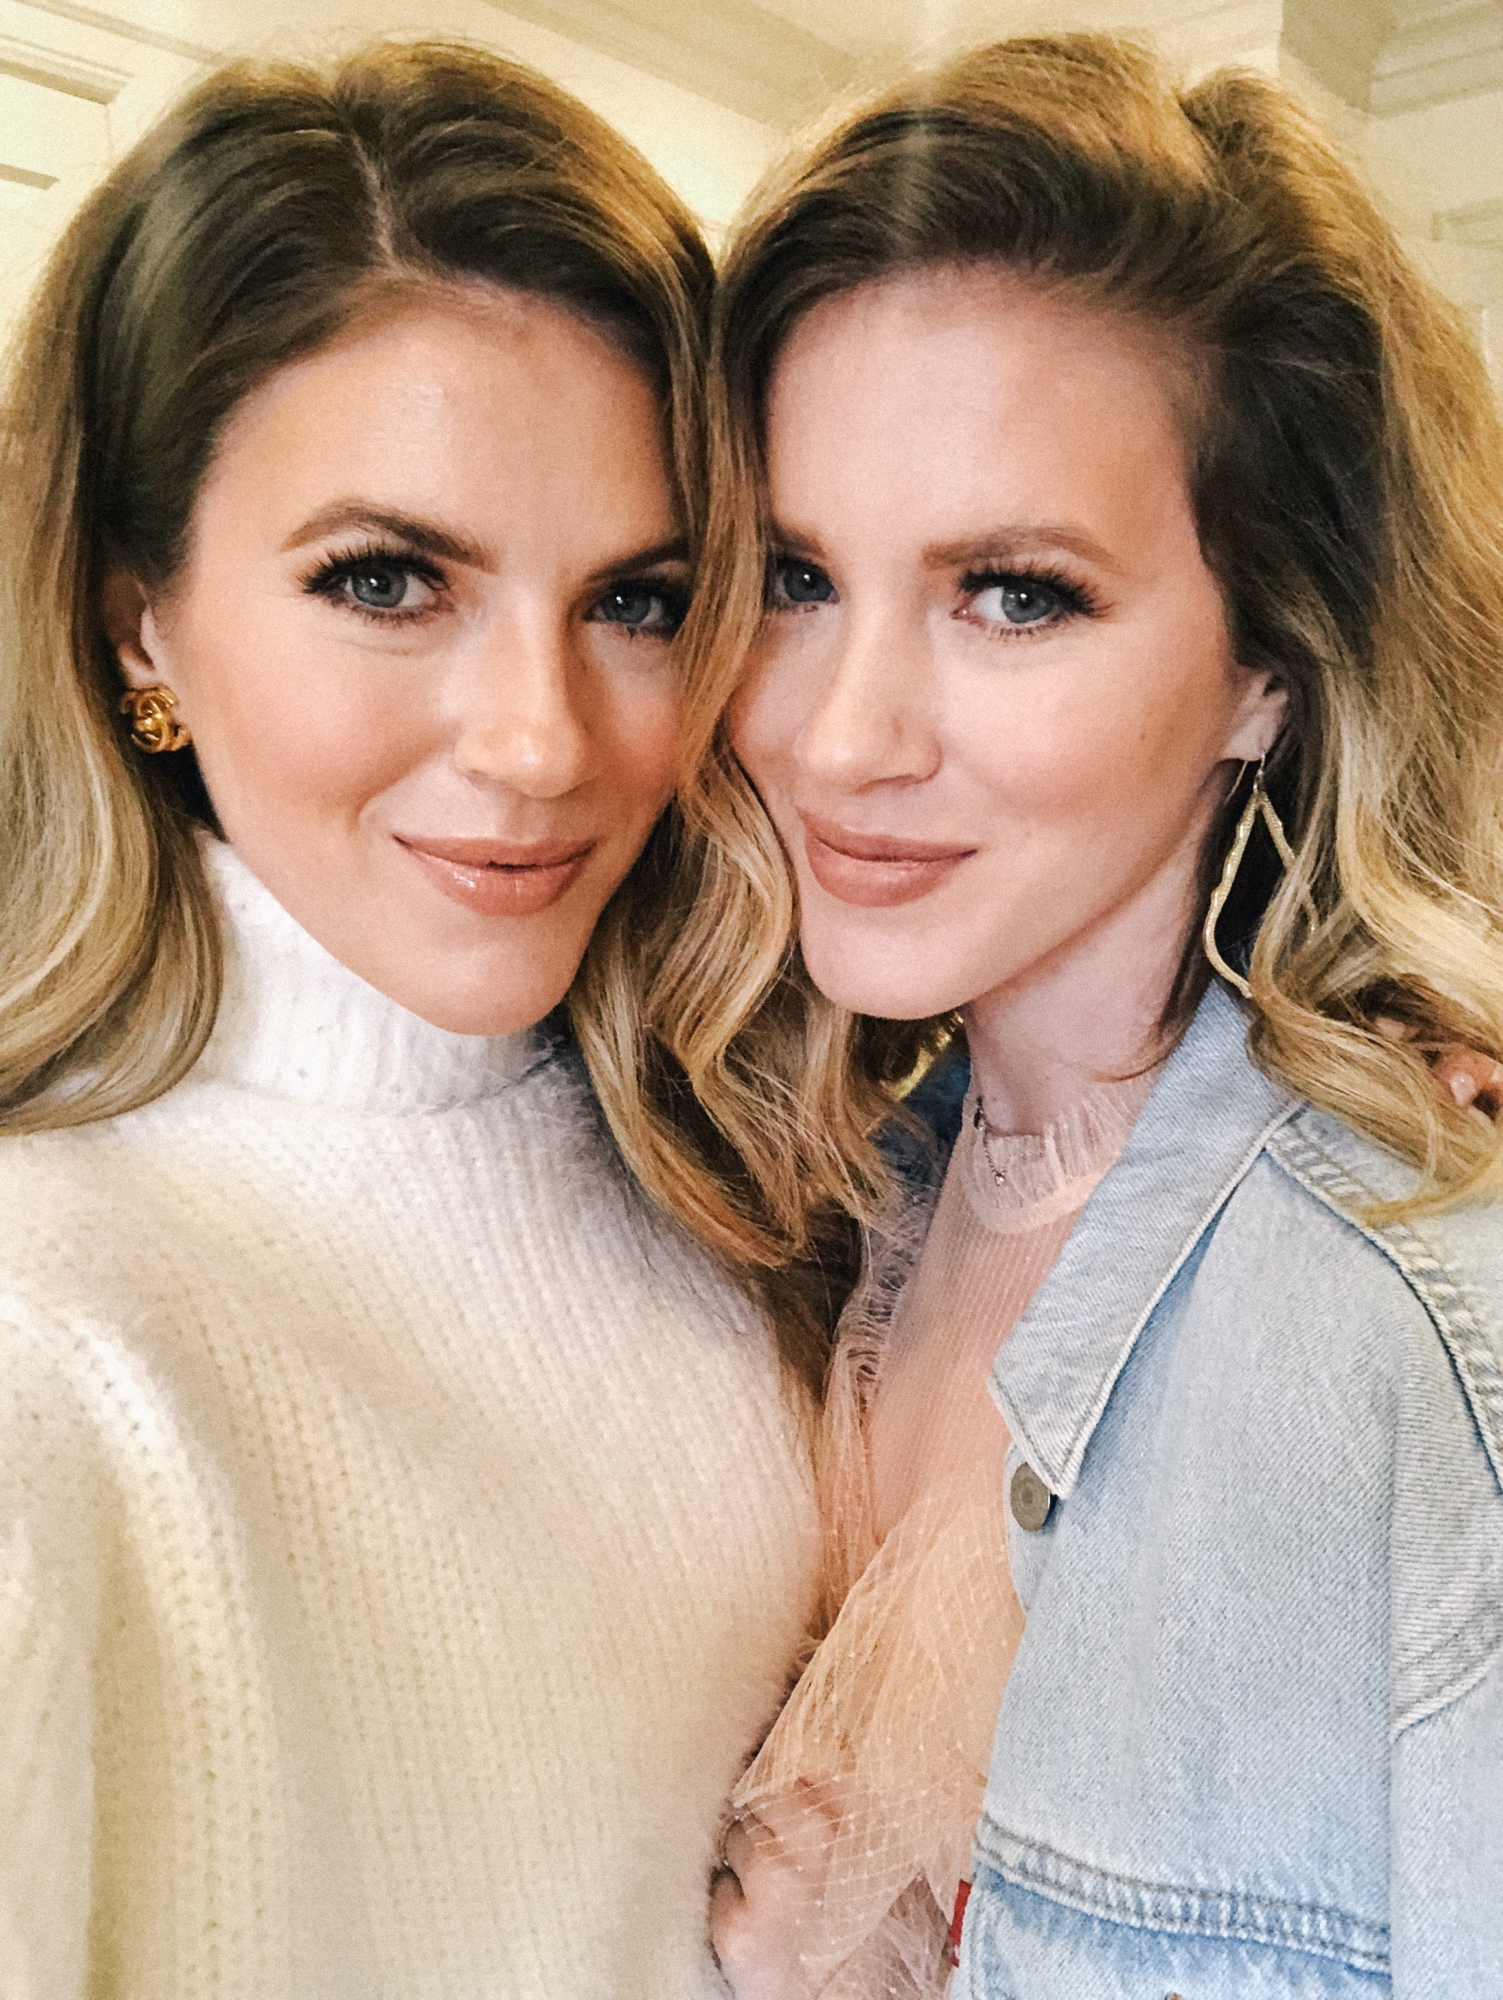
17. Here’s your finished product! It’s messy and sassy!
Please leave us some comments on what you thought of this tutorial and if you loved it please share it! Here are all the products I used in this tutorial!